
by Ophtek, LLC | Mar 12, 2014 | Office IT, Services
Just because you have a ‘website’ it doesn’t mean you or your organization is ready to start dealing with internet matters. Depending on where you’re going with your business, you have to decide which tools will suit your needs most. There are many supposed...
by Ophtek, LLC | Feb 11, 2014 | General, Office IT, Repairs and Upgrades, Services
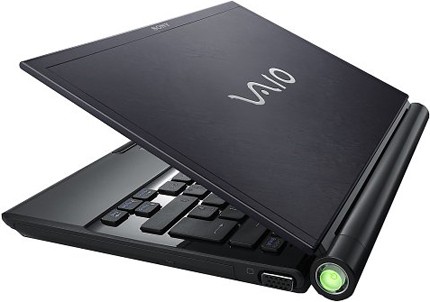
Sony is ditching the PC business in an effort to restructure amidst a declining PC market. The Japanese tech-giant has been struggling in recent years to keep up with the evolving consumer tech segment, and this latest move away from the PC is just a small step...
by Ophtek, LLC | Oct 24, 2013 | Office IT, Software
Every business owner wants to be sure their data is protected 24 hours a day. Since its introduction in 2009 Microsoft Security Essentials has been the go to free anti-virus solution for users running Windows Operating systems. It’s popularity was due to being...
by Ophtek, LLC | Oct 16, 2013 | Office IT, Office Network
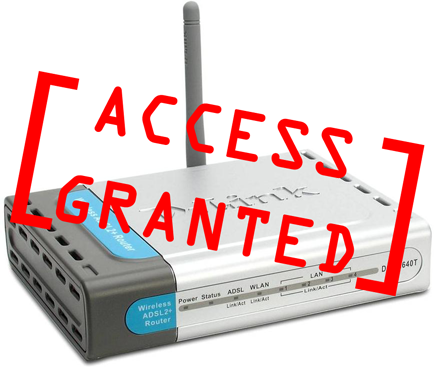
An easy hack that affects D-Link routers has recently been discussed in this article from devttys0.com. The writer of the article, Craig, goes through the steps of how the exploit works in great detail. If you are running a D-Link router in your home or office, should...

by Ophtek, LLC | Oct 2, 2013 | Office IT, Office Network
In this article from Information Weekly, Brian Barnier explains some steps businesses can take to make sure they aren’t making costly mistakes when it comes to social media and how internal data is handled. He goes into specific details in the article,...