


A zero day exploit affecting Internet Explorer 6 through 11 has been discovered which allows an attacker to execute code and install malicious software. Security firm Fire Eye has recently released the details of how this attack works.
Internet Explorer accounts for about 25% of the worlds browsers used to surf the internet. We will cover a high level summary and how you can protect yourself and your business.
How does it work?
The exploit works by loading a corrupted Adobe Flash SWF file in a webpage, which allows the attacker to modify data in memory, effectively bypassing Internet Explorer’s security and allowing any malicious software to be downloaded and installed. This can include viruses, malware, keyloggers, bitcoin mining software, fake anti-virus programs among other destructive software.
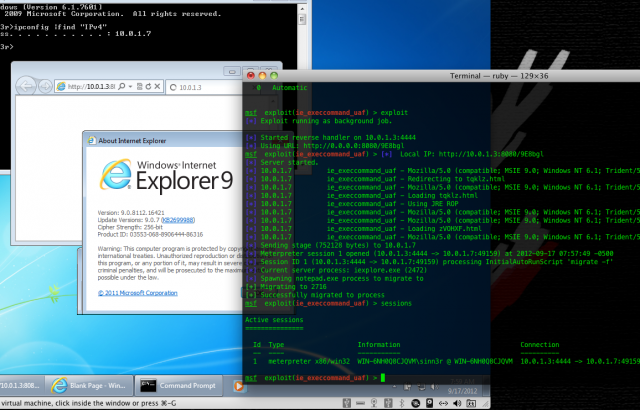
Rapid 7 shows an attack on a Windows 7 system using this exploit.
The exploit can be used on any version of Windows that runs IE 6, 7, 8, 9, 10 or 11, which means this is the first time that running a newer version of Windows does not protect you from an exploit.
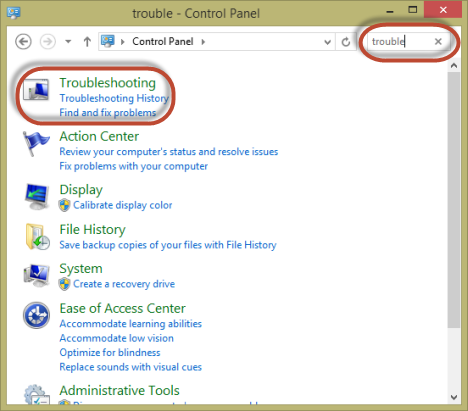
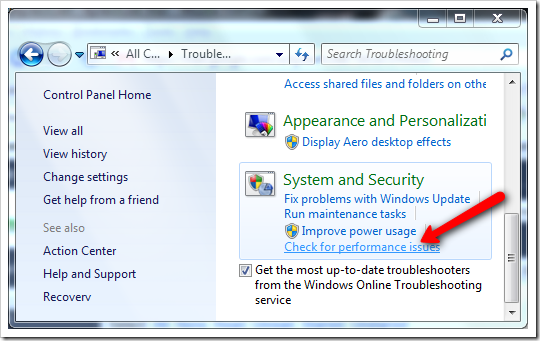
What can I do to protect myself?
Microsoft has already started rolling out an update to patch the security bug, so be sure to keep your operating system up to date. It is also recommended that you install Microsofts EMET 3.0, which brings better security protection especially for older Windows operating systems.
As always, we recommend running more secure and light weight web browsers such as Chrome or Firefox and avoiding Internet Explorer unless absolutely necessary.
All Onsite PC Solution clients with monthly maintenance plans will automatically be patched during their next monthly maintenance cycle.
For more ways to protect your business and home computers, contact your local IT professionals.
Read More


