Is your PC running slower or are you getting unwanted popups and ads? You may have a malware or virus infection. Here are 3 ways to remove infections.
1. First, make sure that you have an infection.
Aside from Windows running slowly, one telltale sign of an infection is the computer running programs and processes that look completely unfamiliar.
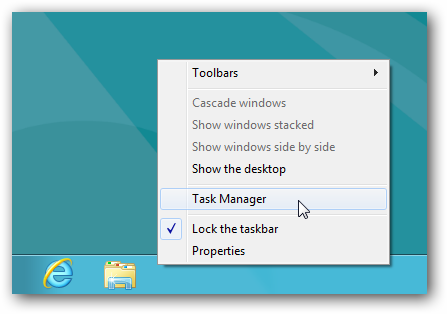
Open Windows Task Manager. Right- click the taskbar and choose Task Manager from the menu.
Select the Processes tab and click Memory or Mem Usage to to sort the running processes by how much RAM they use.
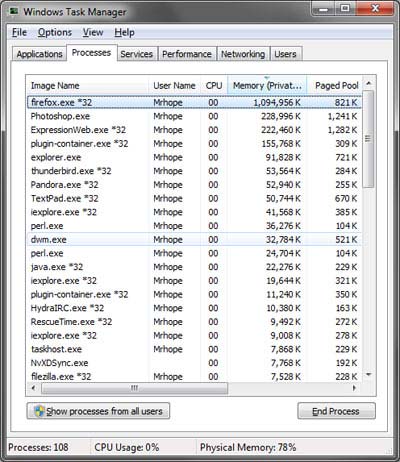
This should display the processes in descending order of memory usage. If it is in ascending order, you can click the Memory or Mem Usage tab again to view the processes with the largest memory on top. Paying special attention to these processes, look for ones with unfamiliar looking names.
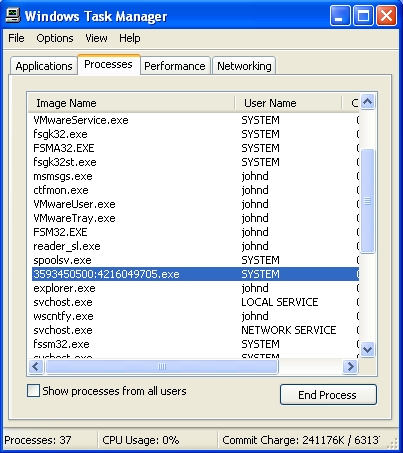
In particular, focus on high memory processes running in the task manager that have names with strange characters or symbols. Perform a google search on the peculiar looking processes to find out if they are legitimate.
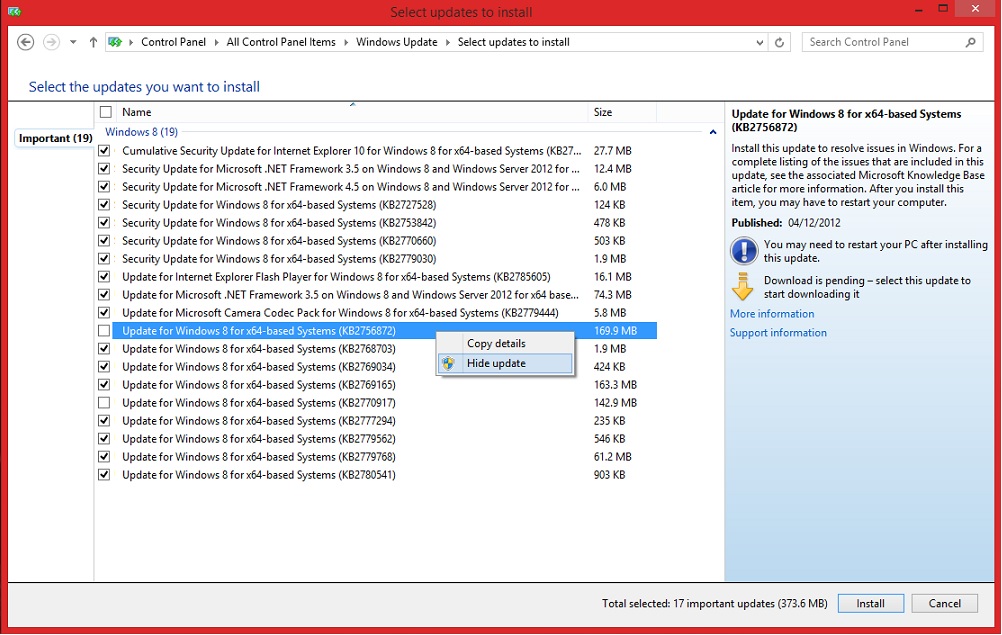
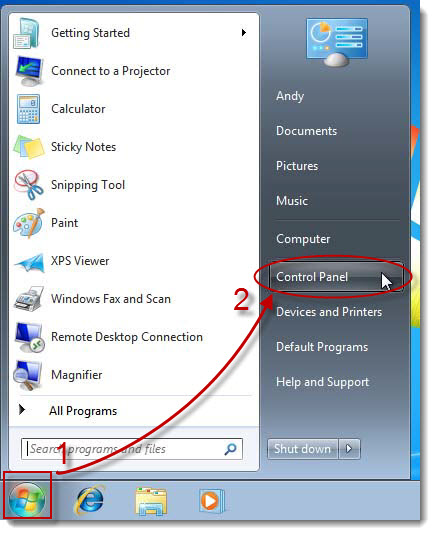
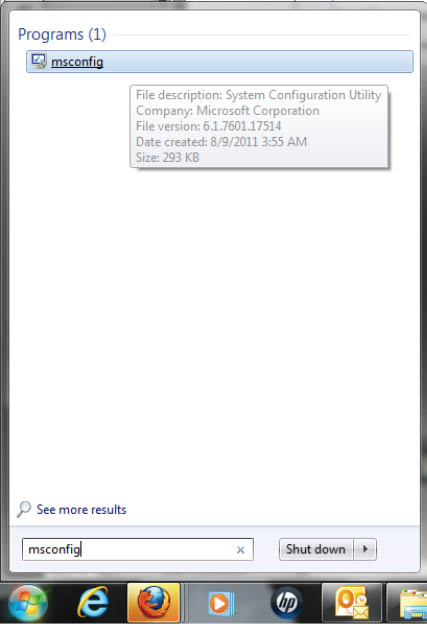
If the search results on the web point toward it being a malicious process, you may be able to remove it as a startup program. Click the Start button, type msconfig in the search box, and click it when it comes up as a menu selection.
After the system configuration utility loads, click the Startup tab to display the programs the system loads when the computer starts up.
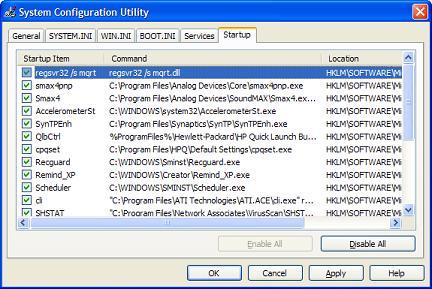
Try to find the suspect process in the list of Startup Items and uncheck the box next to it to remove it as a startup process. It will be removed when Windows restarts.
2. Run a virus scan on your system
If you haven’t already done so, run a scan of your system with an antimalware or antivirus program. Malwarebytes and Microsoft Security Essentials are highly recommended. First start with a simple scan. If this detects anything, remove the threats it detects. Next, run a full system scan.
If successive full system scans still detect malware, take note of the threats the scanner displays. Run a Google search on the threats to see if anyone has posted a successful method to remove the virus.
Detection of viruses on successive scans likely indicates that your antimalware program has been compromised. Accordingly, downloading a new malware scanner is a good idea. Barring Malwarebytes, Bitdefender, Eset Online Scanner, and House Call are excellent suggestions.
But before running a scan with any of these antimalware programs, reboot the computer into Safe Mode with Networking. To do this, restart the computer and press F8 repeatedly when the logo of the motherboard manufacturer appears on the screen.
You will next see a black screen showing Advanced Boot Options. From this list select Safe Mode with Networking.
This will boot into a simplified version of Windows that runs only necessary programs. Usually malware doesn’t load in safe mode. In safe mode, run your new malware scanner in advanced or custom mode. These modes are favored because you need to scan every directory on the computer. Be sure to perform a full scan on the entire system. This will take some time. You can probably watch a full length feature film while this occurs.
After this scan cleans up your computer, run another with a different malware program. Again, be sure to do a full system scan in Safe Mode with Networking. If the second scanner detects nothing, it is a good bet your system is purged of infections.
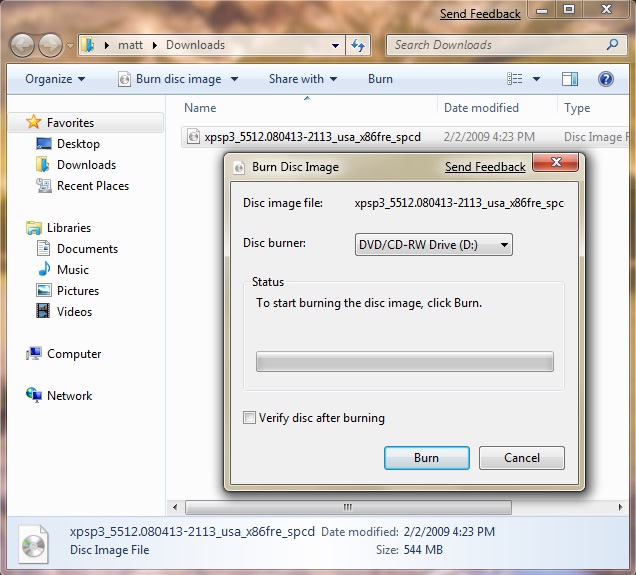
3. Run a live disc virus scan
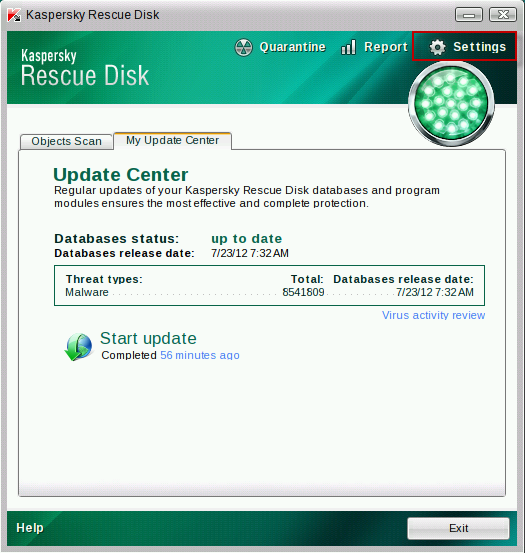
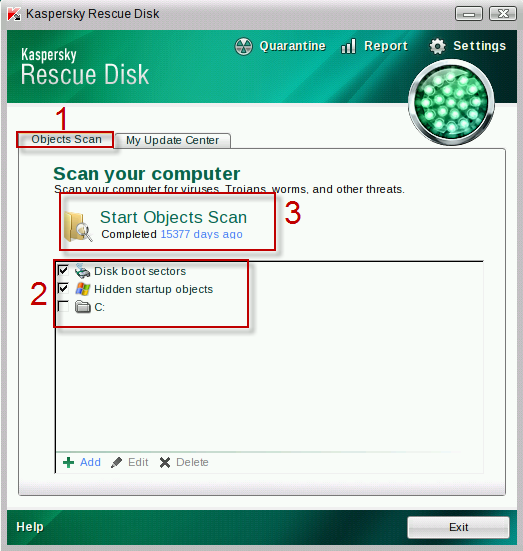
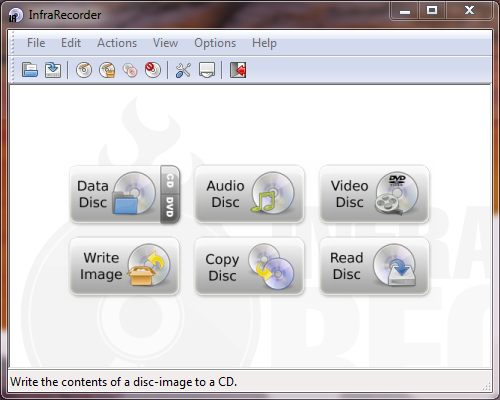
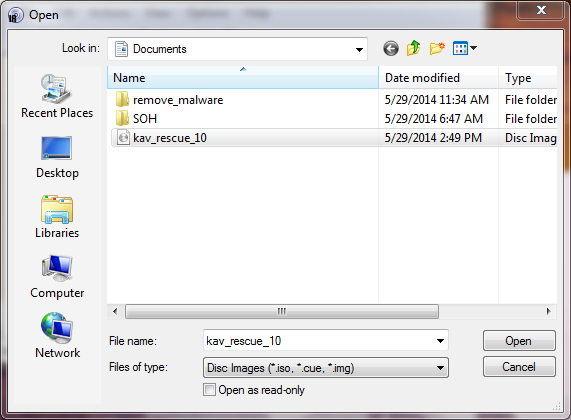
If multiple scans keep detecting infections, you will need to reboot into a Linux live disc. While there are many live Linux distributions to choose from, Kaspersky Rescue Disk is highly recommended, as the interface is simple for Windows users.
For more assistance on this or other issues affecting your computer, consult your local IT professionals.
Read More![BurnDiskImage_thumb[7]](https://www.ophtek.com/wp-content/uploads/2014/05/BurnDiskImage_thumb7.png)