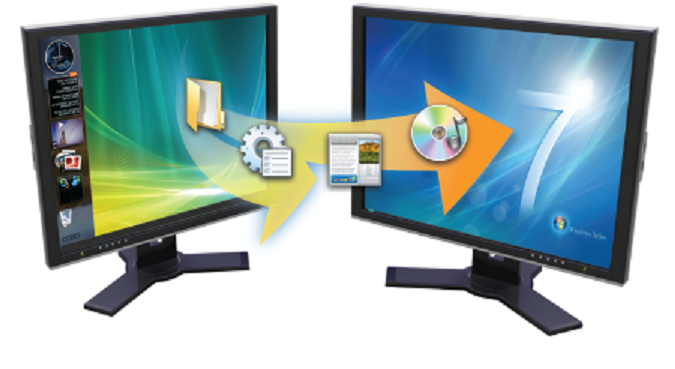
Since Microsoft has ended support of Windows XP and it has become increasingly dangerous to continue running XP, many people have purchased new Windows 7 systems. If you replaced your Windows XP system with a new computer you will want to move your Windows XP files and settings too.
This can be accomplished with a USB drive and Windows Easy Transfer.
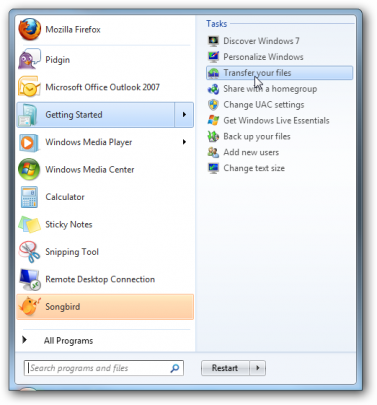
First, on the Windows 7 computer, click the Start button, select Getting Started, and Transfer your files.
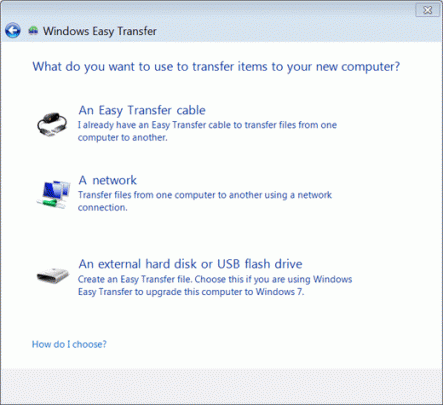
When asked What do you want to use to transfer items to your new computer?, select An external hard disk or usb flash drive.
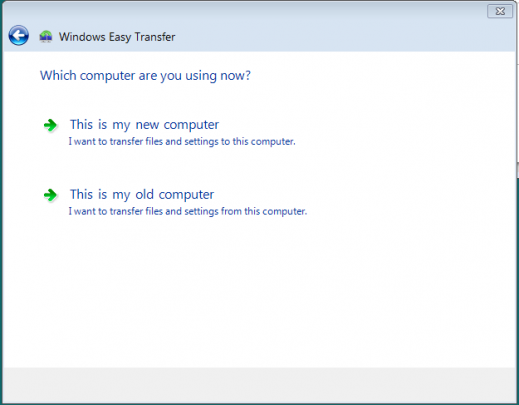
Next select This is my new computer.
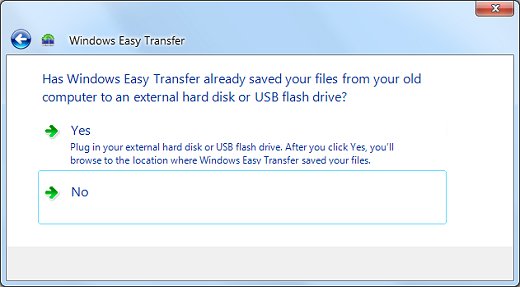
When asked Has Windows Easy Transfer already saved your files from your old computer to an external hard disk or USB flash drive?, answer No.
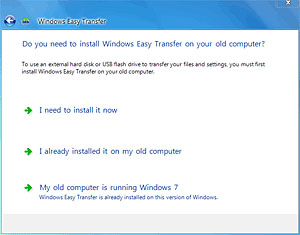
On the next screen, select I need to install it now if you haven’t installed Windows Easy Transfer on your XP computer.
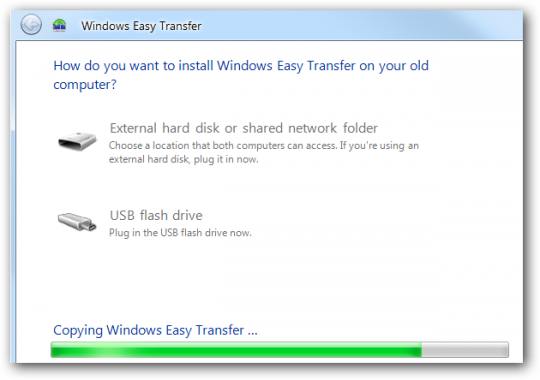
Select External hard disk or shared network folder to copy the program to your USB drive. If you have an external USB drive, you need to use the External hard disk option.
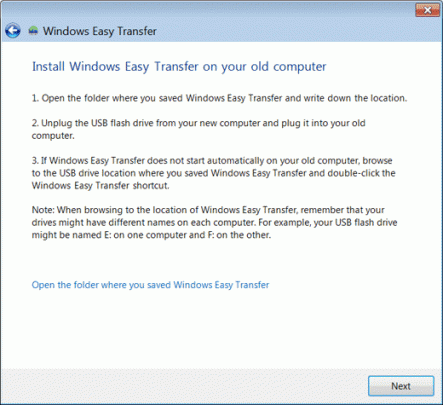
Next Windows Easy Transfer must be installed on the XP machine. Follow the instructions that appear in the next window. The instructions will tell you to move over to your old computer.
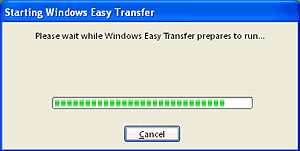
After attaching the USB drive to your old computer, launch Easy Transfer from the saved location on the USB. While the program prepares to run, a window with a progress bar appears.
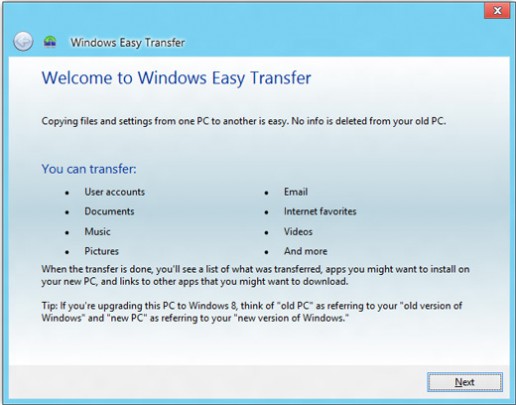
Next, after reading the instructions on the welcome screen, select Next.
Use your USB to transfer files by choosing An external hard disk or USB flash drive.
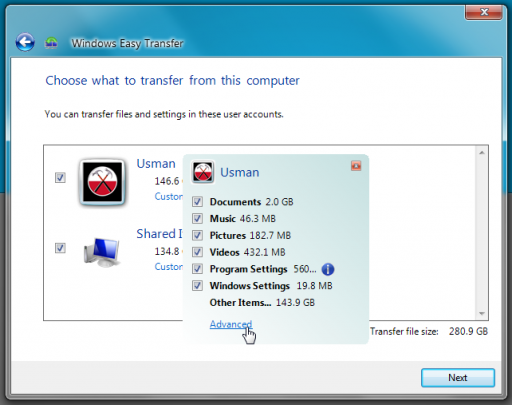
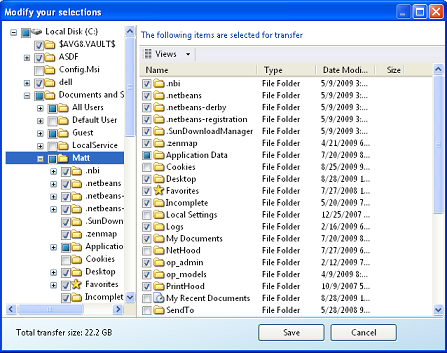
Next you can select which user accounts and settings, along with a list of accompanying files to save.
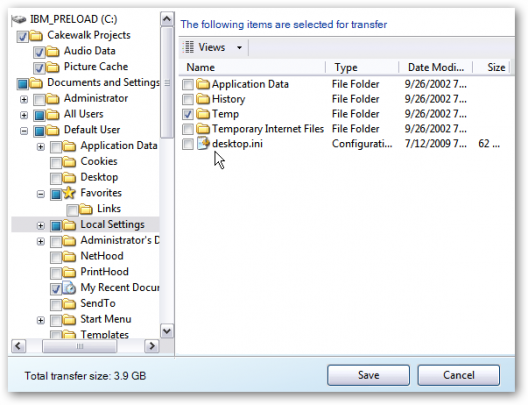
Selecting Advanced gives a more detailed way to save files.
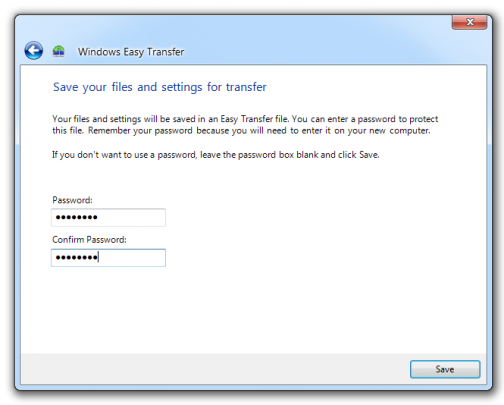
If you so desire, you may password protect the backup.
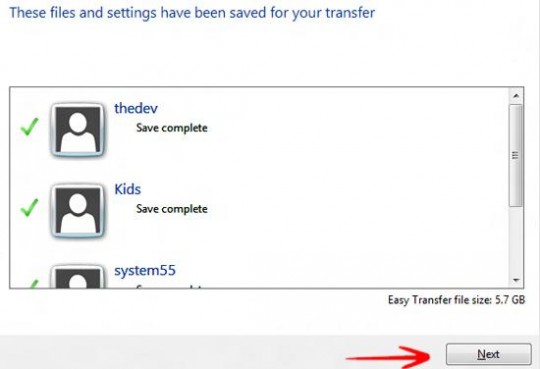
After choosing Save, click Next, safely remove the USB, and plug it into the new machine.
Launch Windows Easy Transfer on the Windows 7 machine and click Yes when the following window appears:
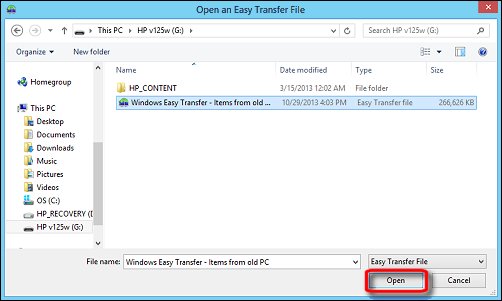
After the file explorer opens, use it to move to the location of the backup on the USB drive.
You can restore the entire backup or pick specific files and folders to restore. Click Save to begin the transfer.
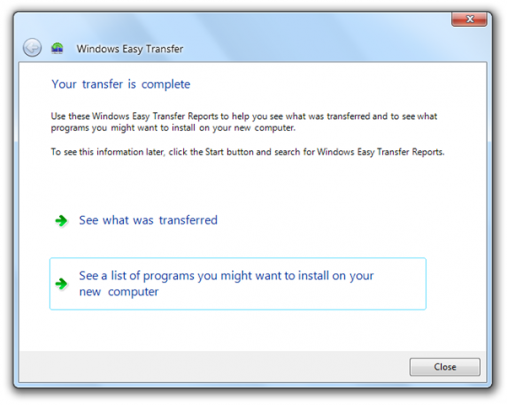
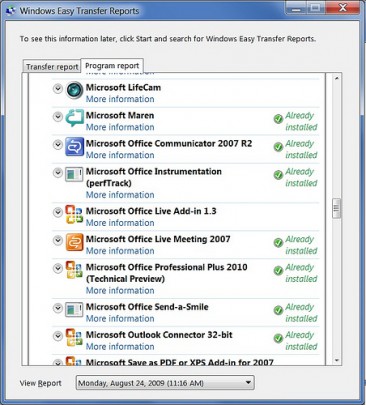
When the transfer is complete, you can view a report of it, as well as suggestions for additional programs to install.
The additional programs available for installation can be viewed under the Program Report tab.
Not all programs and settings will transfer to Windows 7, but this is one of the most seamless processes for transferring compatible program settings and files.
For more information please consult your local IT professional.



One thought on “Transfer Files and Settings from XP to Windows 7”
Comments are closed.